Once you gather all the components, assembling your PC is reasonably straightforward. Although Budget Gaming PC Build Guide you must take care, be patient and keep everything clean with PC build tools. For example, avoid the risk of damage due to static electricity by using an antistatic wrist strap or project mat when handling components. Plus, you’ll need hand tools, such as a flat-head screwdriver, for assembling components.
- Populate the motherboard.
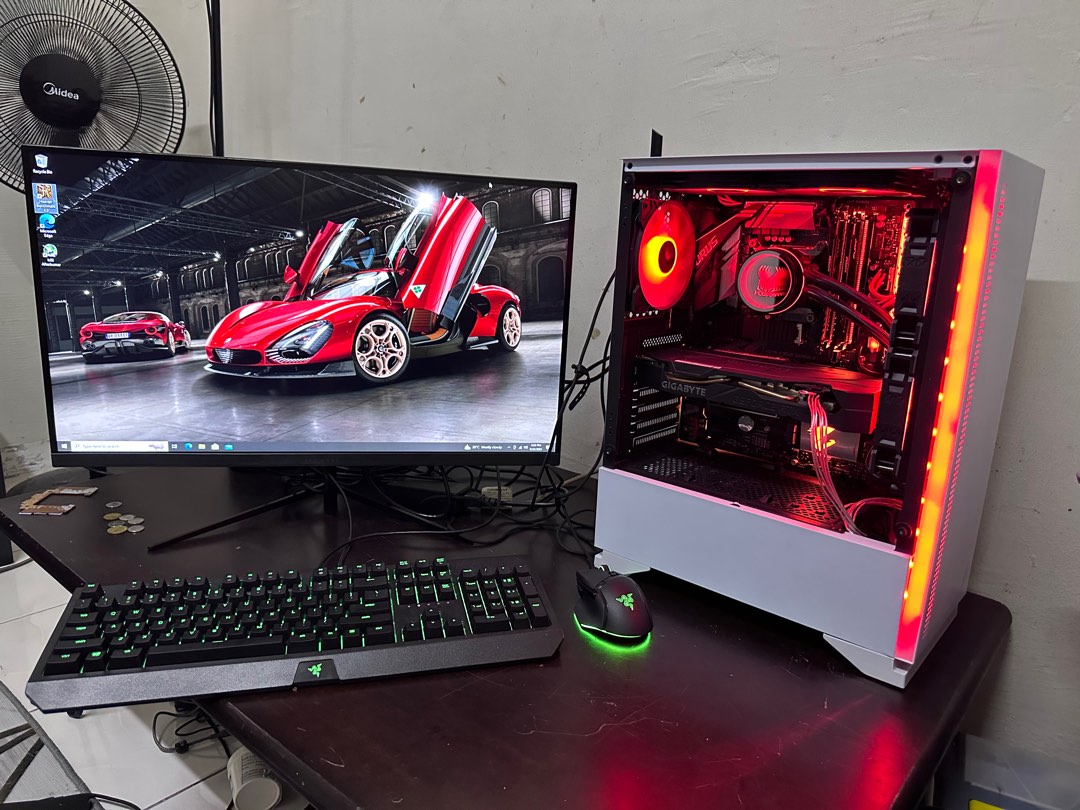
Begin by installing the CPU into its socket on the motherboard; it only fits in one position. If you’re using an AMD CPU, be very careful not to bend the pins. Carefully follow the instructions supplied with the motherboard and CPU. When you fit the fan, place some thermal paste between the fan’s aluminum heatsink and the CPU. Fasten the CPU and fan to the board, following the motherboard manufacturer’s instructions. Then install the RAM into the appropriate slots in the motherboard. Once you’re happy with the placements, install the motherboard in the tower using the supplied screws. - Install other components.
Start by fastening the power supply into the base of the tower. Fit the GPU onto the PCI-E x16 slots. Install internal drives, cooling fans and other peripherals. Then, connect everything to the power supply, which has ports for all your peripherals. Be sure to follow the motherboard manufacturer’s instructions exactly when connecting power cables. After that step, connect the appropriate power connector to the GPU.
Next, attach the fans to the motherboard using the three- or four-pin connectors on the fans. Connect hard drives to the motherboard using the Serial ATA (SATA) cables. Attach the primary drive to the first SATA slot on the motherboard. Plug in the connectors for the power button, microphone, earphone sockets and case-mounted USB drives. Lastly, check that you’ve installed everything properly and connected all power cables.
Before powering up, create a Windows® bootable USB drive using an 8 GB or larger memory stick and Windows Media® creator on another PC. When finished, connect the power and switch on. If you’ve correctly installed everything, the PC will boot up. If the PC doesn’t start up, start troubleshooting by carefully check every connection. Don’t go into the Basic Input Operating System (BIOS) unless necessary, as the default settings should work. Finally, switch off the PC and insert the Windows boot USB and restart the PC. It should reboot a few times before it finds the USB stick and starts installing the operating system software.

Leave a comment